

To assemble a Rogue R-3 power rack in a low ceiling basement, you'll need to either order the rack with shortened uprights through Rogue's custom-cut service or carefully cut standard 90-inch posts down to fit before bolting anything together. Most basements with 7-foot ceilings (84 inches) require uprights trimmed to 80-82 inches, leaving room for the cross-members and pull-up bar without skimming joists. The Rogue R-3 power rack low ceiling basement assembly process is methodical once the posts are sized correctly: lay parts out by hardware bag, attach base members, raise the uprights, then bolt the top cross-braces and pull-up bar. Bolt-down hardware is essential for stability in shorter configurations.
Why Low Ceilings Require Special R-3 Planning
Top Picks


The standard Rogue R-3 ships with 90-inch (7.5 ft) uprights. That dimension assumes a garage with 8-foot or taller ceilings, where the pull-up bar at the top of the rack still clears your head while hanging. Drop into a typical finished basement with a 7-foot ceiling (or 6'10" with a dropped tile or duct), and the math no longer works: the bar is glued to the ceiling, you can't kip a chin-up without scraping drywall, and walking the bar out of J-cups while standing flush against the upright becomes awkward.
When shopping for Rogue R-3 power rack low ceiling basement assembly, it pays to compare specs, capacity, and real-world runtime before committing.


There are also practical hazards. Tall uprights in a tight room mean the pull-up bar lives in the dust-laden zone where joists, HVAC trunks, water lines, and electrical runs converge. Hitting a copper supply line with the top of an upright while lifting it into place is a real risk. Planning the cut and the route of the raised post matter more than the wrench work itself.

Measuring Your Basement Before You Order
Before you click "add to cart" on the R-3, you need four measurements from your basement floor to ceiling:
- Finished ceiling height — slab to drywall or drop tile, in inches, taken at the rack's exact intended location.
- Lowest obstruction — bottom of nearest duct, beam, joist, or pipe within a 4-foot radius of the rack footprint.
- Door clearance — diagonal measurement of the door you'll move the uprights through. A 90-inch tube does not fit through a 32-inch swung door without going vertical.
- Working overhead clearance — height you actually need over the bar for the lifts you'll do (back squat needs ~20 inches above your standing head height; overhead press needs ~30 inches).
Subtract 4 inches from your lowest obstruction. That's the maximum upright length you can use. Most low-ceiling basement builds land on 80-inch or 82-inch posts. Anything under 75 inches will limit your J-cup top position and is not recommended for back squats.
The Three Paths to a Low-Ceiling R-3
You have three realistic options, ranked from easiest to most hands-on:
Path 1: Order Rogue's Custom-Cut Service
Rogue will cut R-3 uprights to a custom length for a modest fee and re-drill the hole pattern so your safeties, J-cups, and pull-up bar still align in the right positions. Specify the final length in inches when ordering. This is the cleanest path: the holes are correctly indexed, the powder coat is intact at the cut edge, and you get a manufacturer-finished post. Lead time is usually 2-4 weeks.
Path 2: Cut the Uprights Yourself
Buy standard 90-inch posts and cut them to length at home with a metal-cutting chop saw (an abrasive wheel works; a carbide blade is cleaner). Measure twice, cut from the bottom end so your existing hole pattern still aligns with the cross-members and pull-up bar at the top. Deburr the cut edge with a file, prime the bare steel, and apply matte black touch-up paint. This saves the custom-cut fee but adds a Saturday afternoon and requires a saw rated for 11-gauge steel.
Path 3: Buy a Shorter Rack Instead
If your ceiling is below 78 inches, the R-3 is the wrong rack. Consider a squat stand or a half-rack designed for sub-7-foot rooms. We cover this trade-off in detail in our low-ceiling power rack buyer's guide.
Pre-Assembly Checklist
Before you open the boxes:
- Confirm slab is level within 1/4 inch across the rack footprint. Shim later with stainless washers if not.
- Stage all four uprights, both bases, top cross-braces, pull-up bar, and J-cups on a moving blanket — no metal-on-concrete drops.
- Sort hardware bags. The R-3 ships with 5/8-inch bolts for the main frame and shorter bolts for the pull-up bar; don't mix them.
- Have a 15/16-inch socket, a 15/16-inch box wrench, a rubber mallet, a torque wrench rated to 100 ft-lb, and a hammer drill with a 5/8-inch concrete bit ready.
- Confirm anchor bolts on hand. Wedge anchors (Red Head Trubolt or equivalent) at 5/8-inch by 4-3/4-inch are the standard call for a 4-inch slab.
Step-by-Step Assembly in a Tight Basement
The R-3 ships assembled in modules and is designed to be put together by one person, but a low-ceiling basement turns this into a two-person job because you can't tip uprights into place — there's no vertical room to swing them. Plan to walk them up.

Step 1: Position the Base Members
Lay the two base members on the floor parallel, spaced 30 inches apart on center (the R-3's standard depth). Square them with a tape from corner to corner — diagonals should match within 1/8 inch.
Step 2: Bolt Uprights to Bases on the Ground
Lay each upright flat next to its base. Attach the upright to the base with the 5/8-inch bolts, finger-tight only. Do this for all four corners while everything is still horizontal. This is the part you cannot do in a low-ceiling room once raised, so do it now.
Step 3: Walk the Front Frame Up
With a helper, lift one base + two uprights as a unit. Because the uprights are now 80-82 inches and the base adds 2-3 inches of height, you'll have about 1-2 inches of clearance under a 7-foot ceiling as you tip it vertical. Go slow. Watch the top of the uprights for ducts, sprinkler heads, and ceiling fans.
Step 4: Raise the Back Frame
Repeat for the back uprights. Now you have two free-standing parallel frames.
Step 5: Install the Top Cross-Members
Reach overhead and bolt the front-to-back stringers across the top. This is where the low ceiling helps — you don't need a step ladder. Finger-tight only until the pull-up bar is in.
Step 6: Install the Pull-Up Bar
The R-3's pull-up bar bolts across the top front. In a low ceiling, this bar may sit only an inch or two below your joists. That's fine for grip but means no kipping. Tighten all top hardware to spec (Rogue specifies 100 ft-lb for the 5/8-inch frame bolts).
Step 7: Square and Torque
Verify the rack is plumb in both directions with a 4-foot level. Adjust by tapping the base with a rubber mallet before torquing the base-to-upright bolts.
Bolting Down for Safety in Short Configurations
A bolted-down R-3 is safer than a free-standing one in every configuration, but it becomes critical when the rack is short. A shorter rack has less leverage to resist tipping forces from heavy unracks, missed lifts catching the safeties, and pull-up bar swing. Mark the four base holes with a sharpie, move the rack aside, drill 5/8-inch holes 4 inches deep into the concrete with a hammer drill, vacuum the dust out (this is non-negotiable for wedge anchor holding power), set anchors, reposition the rack, and torque the nuts to 90 ft-lb. Full procedure with anchor specs is covered in our concrete bolt-down walkthrough.
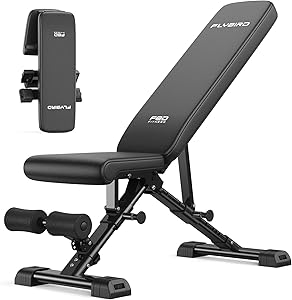
Companion Gear When the Bar Can't Go Overhead
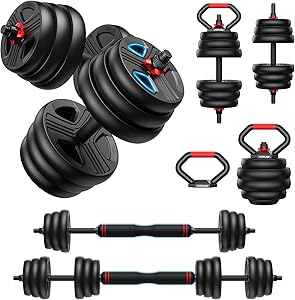
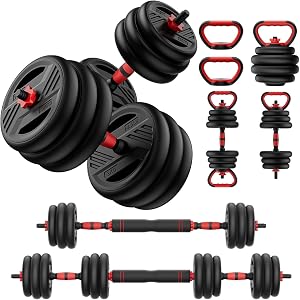
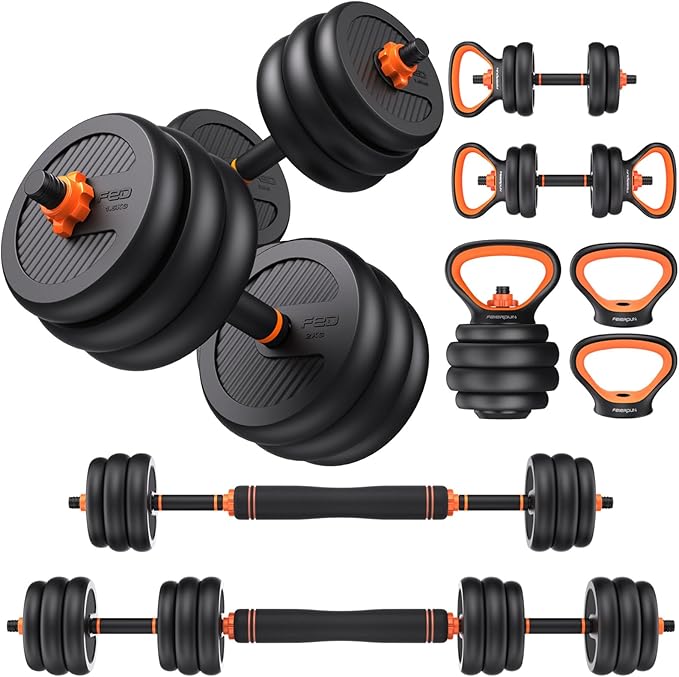
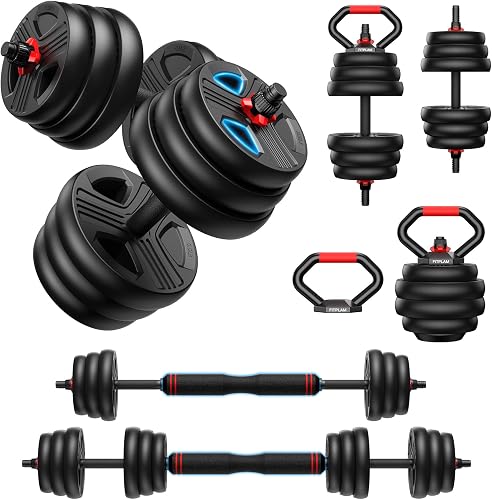
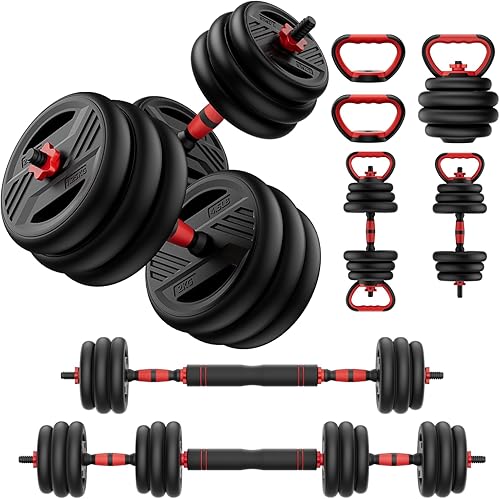
The hardest compromise in a low-ceiling rack build is that you usually can't press a barbell overhead from inside the rack — the bar hits the ceiling at lockout. Most lifters solve this with adjustable dumbbells for overhead and incline pressing, since dumbbells stay in front of your face and never travel as high as a barbell. Three picks that work well as the dumbbell half of a low-ceiling R-3 setup:
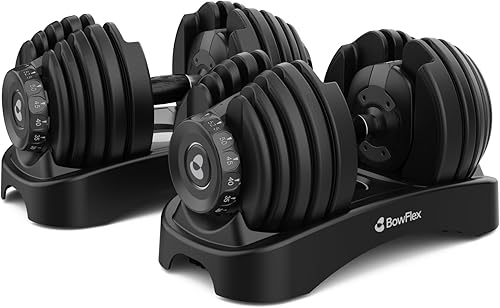
BowFlex Results Series SelectTech Adjustable Dumbbells
The newest generation of BowFlex SelectTech is the most reliable pick for a serious basement lifter who wants 5-90 pound range in a single pair without a whole rack of fixed dumbbells. The dial selector is fast, the cradle is compact enough to slide under the R-3's base members, and the build quality has held up across years of garage and basement use. If your low-ceiling R-3 means no overhead barbell work, these become your primary press tool. BowFlex Results Series SelectTech Dumbbells.
FEIERDUN DS2 Adjustable Dumbbells (20-90 lb)
The FEIERDUN DS2 is the value pick at the high end of the range. You get a 20-90 lb spread per dumbbell, a connector that turns the pair into a short barbell (useful in a low-ceiling room where a 7-foot Olympic bar is overkill for some movements), and a tray that fits in the R-3 footprint. The connector function is genuinely useful for floor presses and z-presses inside the rack. FEIERDUN DS2 Adjustable Dumbbells.
Amazon Basics Adjustable Dumbbell Hand Weight Set
For lifters who only need the 5-25 lb range for accessories (lateral raises, curls, face pulls, rotator cuff work), the Amazon Basics adjustable set with storage case is the cheapest sensible option. It's not a primary press tool, but it complements heavier fixed plates well and stores cleanly. Amazon Basics Adjustable Dumbbell Hand Weight Set with Storage Case.
Comparison: Adjustable Dumbbells for Low-Ceiling R-3 Setups
| Pick | Weight Range | Adjustment | Best For | Footprint |
|---|---|---|---|---|
| BowFlex Results Series | 5-90 lb | Dial | Primary press substitute | Compact cradle |
| FEIERDUN DS2 | 20-90 lb | Selector pin + connector | Press + light barbell work | Tray |
| Amazon Basics Hand Weight Set | 5-25 lb | Threaded collar | Accessory and rehab work | Storage case |
Final Notes Before You Lift
After the Rogue R-3 power rack low ceiling basement assembly is complete and the unit is bolted to the slab, do three things before loading a plate: (1) hang from the pull-up bar with full bodyweight to confirm zero deflection, (2) place an empty barbell in the J-cups at squat height and walk it out — your head should clear by at least 8 inches, (3) drop a loaded 45-pound plate from waist height onto a pulled safety pin and listen for any rattle in the frame. Any of those failing means re-torque or re-anchor before training. For pull-up bar height optimization in a sub-84-inch room, our short-ceiling pull-up bar guide covers neutral grip add-ons that can buy you an extra inch of head clearance.
Frequently Asked Questions
What is the minimum ceiling height to assemble a Rogue R-3 power rack?
The absolute minimum is around 78 inches if you cut the uprights to 76 inches and accept that the pull-up bar will be within an inch of your ceiling. The practical minimum for comfortable squatting and pressing inside the rack is 84 inches (7 feet) with uprights cut to 80-82 inches. Below 78 inches, switch to a squat stand instead.
Can you cut Rogue R-3 uprights at home without voiding the warranty?
Cutting the uprights yourself does not void the structural warranty on the steel itself, but it does void the powder-coat finish warranty at the cut edge and any claim related to hole alignment if you re-drill. The cleaner option is to order through Rogue's custom-cut service so the finish and drill index are factory-correct.
How much weight can a low-ceiling Rogue R-3 with shortened uprights hold?
Shortening the uprights does not reduce the rack's vertical load capacity, which is rated at 1,000 pounds for the standard R-3. What changes is the safety pin maximum height (lower) and the J-cup top range (lower). Bolt-down is mandatory at the heavier end of that range with short uprights, since the lower center of gravity reduces tipping resistance during fast unracks.
Will a Rogue R-3 fit through a standard basement door for assembly?
The assembled rack will not, but the disassembled components will. Standard R-3 base members are 48 inches long and uprights are 90 inches (or whatever you cut them to). Both fit diagonally through a 32-inch swung door if you tip them. The cross-members are short enough to walk straight through. Always assemble in the final room — never assemble outside and try to move it.
Do I need to bolt down a Rogue R-3 in a basement?
Yes for any short-upright configuration, and strongly recommended for full-height ones too. A free-standing R-3 in standard form factor is stable for static lifts but can shift under aggressive bar drops or pull-up swing. Once you've shortened the uprights, the leverage to resist tipping drops measurably, and bolt-down becomes the difference between safe and dangerous.
Can you do overhead press inside a low-ceiling Rogue R-3?
Strict overhead press from a seated position inside the rack is usually impossible in a 7-foot basement — the bar hits the ceiling at lockout for anyone over about 5'8". Workarounds: press outside the rack at the front (J-cups loaded to clavicle height, step out, press in the open part of the room with the bar tracking forward of the ceiling), z-press from the floor, or substitute dumbbells. See our short-upright custom-cut guide for additional lift substitutions.
How long does Rogue R-3 assembly take in a basement?
Plan on 3-4 hours for two people including bolt-down, or 5-6 hours solo. Add another hour if you're cutting the uprights yourself. The longest single step is hammer-drilling the four anchor holes into a concrete slab and vacuuming them properly before setting wedge anchors. Don't rush that part — anchor pullout is the single biggest safety failure point in basement rack installs.
Key Takeaways
- Choosing the right Rogue R-3 power rack low ceiling basement assembly means matching the key features to your specific needs and budget
- Read real customer reviews and check the return policy before you commit
- Also covers: assemble power rack low ceiling
- Also covers: Rogue R-3 basement install guide
- Also covers: short power rack basement setup
- Compare value across models — the priciest option is not always the best fit